What is HDR Photography?
HDP or High Dynamic Range Imaging is a set of techniques that allow a greater dynamic range of luminace between the lightest and darkest areas of an image than current standard digital imaging technoiques or photgtraphic methods. There has been a buzz recenlty about HDR photography, but many people asume that it’s only for professional photographers. The reality is that anyone with a camera and the correct software can do this.
There are a lot of ways to make HDR photos but seeing as we are focusing on beginners right now, I am going to show you the easiest way that I have found to do this.
Step 1
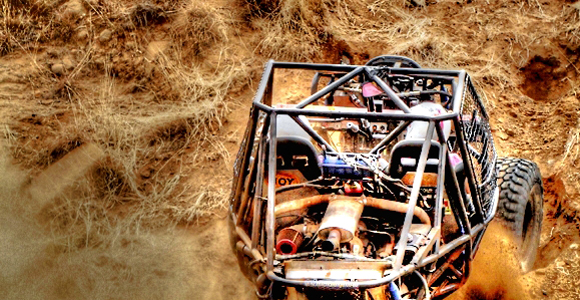
Grab any photo from your camera or computer and import it into photoshop or any photo editing software.

Rally Car Original
Step 2
Now we are going to take your original photo and save it as photo1.
Then take the same photo and set the exposure to -2 and save the photo again as photo2. Take your origanl photo again and set the exposure to +2 and save as photo3. You should have 3 images by now and they should look something like this.

Cars with different exposures
Another way and the actual correct way to do this is to take the photos with these settings with your camera. Your camera should have manual settings. Take the first picture with the correct exposure, the take a second picture with your exposure set to -2 and take another photo with your exposure set to +2. You will then have the same range of images as above.
Step3
Now on to the software. I use Photomatix Pro4, but as stated previously, there are a lot of different HDR effects software out there.
Right – import your photos into photomatix.

Step 1 import photos
Now after you have selected your photos to import, you will get a another screen. Keep Align source images checked. I also usually leave the “Attempt to reduce ghosting artifacts” option checked as well. If you have moving water in your shot, change the option to (“Background movements”, otherwise leave “Moving objects/people) selected. Click OK. Now you will get a screen asking you to set your exposure settings.

Set exposure settings
I usually just set it to 1 because we have already adjusted our photos in photoshop. Set your exposure and press ok.
Step 4
Now for the fun part. Photomatix Pro has a number of preset setting you can use. The best way to learn is to play around with all them until you find someting you like. On the right hand side you will find all the presets and on the left hand side you can do adjustements to your selected preset.

Use presets to determine your look
Once you have found your look and you are happy with your results, click process. This will render the HDR image with your selected presets. If you wish to edit it some more after it has rendered, you can click on the “tone mapping” button on the left side of the screen. You will then be able to adjust your HDR inage even more.

HDR Rendering completed
Underneath is what i have done with my photo. But like i said, HDR is a wide field and there are thousands of ways to edit your photos. This was just the look i liked. Here is the final image.

Rally Car HDR Final
Some other software you can use is Nikon HDR Effex Pro, wich works really well and has plugins for photoshop and lightroom. I will be posting some more advanced HDR tutorials as time goes by. Happy edditing!
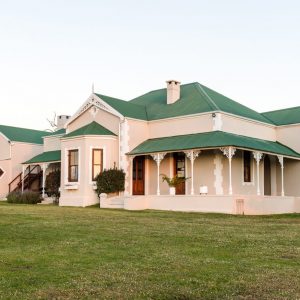
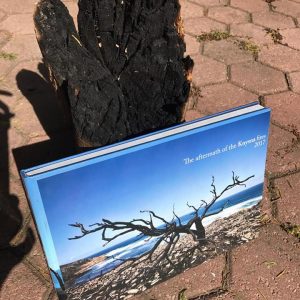
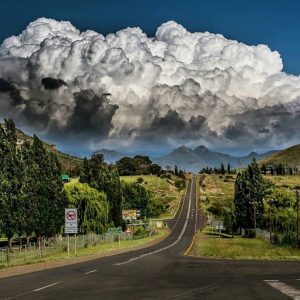
Here are some more examples of HDR Images.

HDR Examples by Pierre Steenkamp
Also see: HDR in landscape photography & Hougaard Malan